Patient Documents: Difference between revisions
No edit summary |
No edit summary |
||
| Line 20: | Line 20: | ||
<p>You can drag and drop the file into the designated area or click to browse and select the file from your device. Optionally, you can specify the folder, set the priority, and add a description for the document.</p> | <p>You can drag and drop the file into the designated area or click to browse and select the file from your device. Optionally, you can specify the folder, set the priority, and add a description for the document.</p> | ||
[[File:Uploads.jpg|800px]] | |||
</li> | </li> | ||
<li> | <li> | ||
| Line 30: | Line 30: | ||
<strong>View Uploaded Document</strong> | <strong>View Uploaded Document</strong> | ||
<p>The uploaded document will now appear in the 'Documents List', where you can view, download, or manage it as needed.</p> | <p>The uploaded document will now appear in the 'Documents List', where you can view, download, or manage it as needed.</p> | ||
[[File: | [[File:PatientDashboard%20UploadTest.jpg|800px]] | ||
</li> | </li> | ||
</ol> | </ol> | ||
Revision as of 13:50, 31 May 2024
Patient Documents
The 'Documents' tab serves as a repository for the patient's important documents. This can include signed consent forms, treatment plans, and other relevant medical records. It provides a secure and organized space to store and retrieve documents as needed for ongoing patient care and administrative purposes.
How to Upload a Document
-
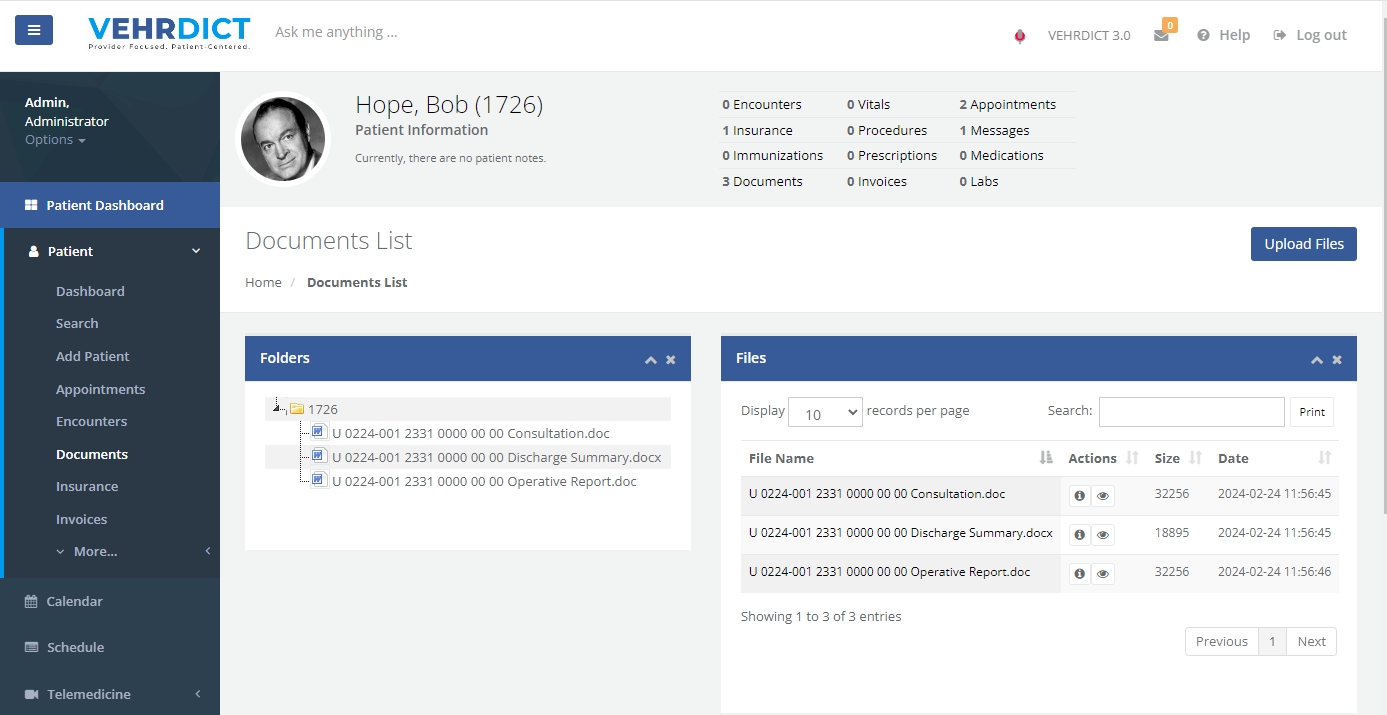
Navigate to the Documents Tab
Locate and click on the 'Documents' tab on the left-hand side of the Patient Dashboard.
-
Upload Files
In the 'Documents List' section, click on the 'Upload Files' button in the top right corner of the page.
-
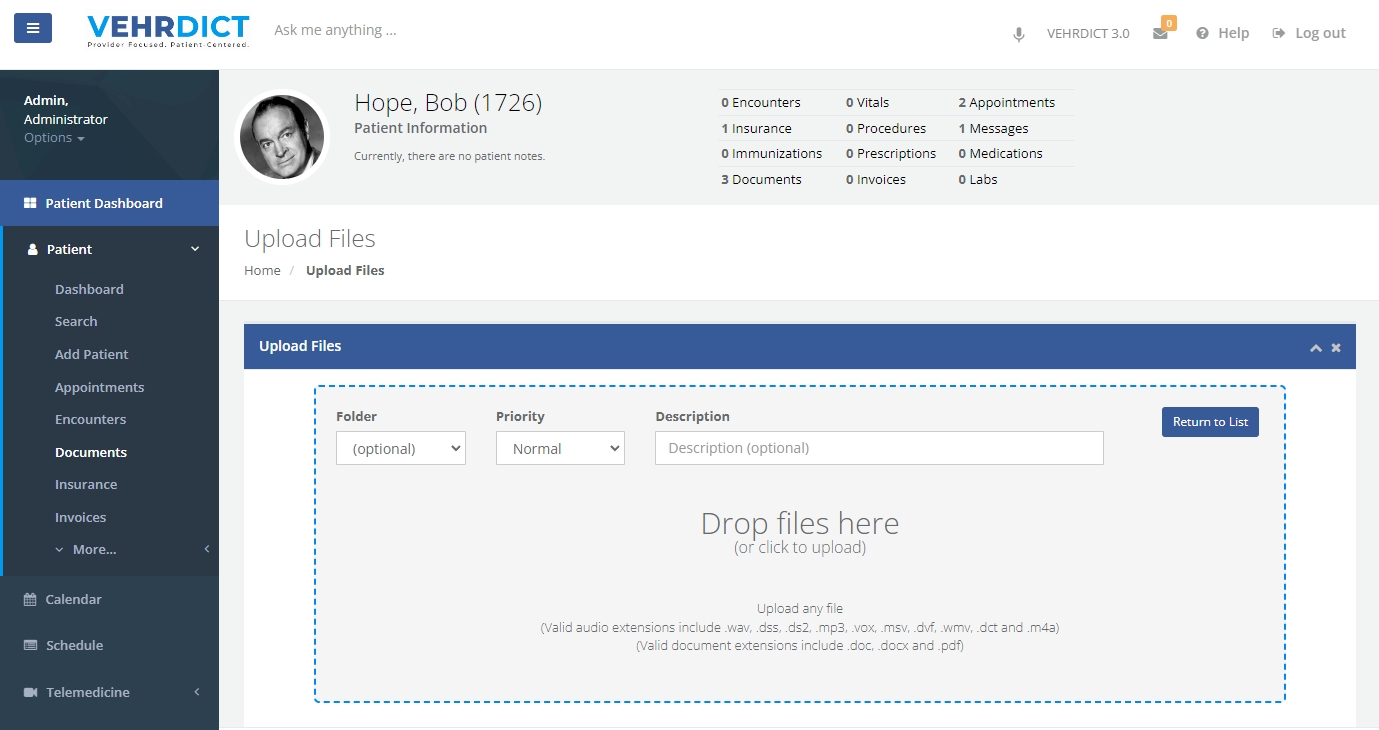
Select File for Upload
A new screen will appear, prompting you to select the file you wish to upload.
You can drag and drop the file into the designated area or click to browse and select the file from your device. Optionally, you can specify the folder, set the priority, and add a description for the document.
-
Return to Documents List
Once you have selected the file, click the 'Return to List' button.
-
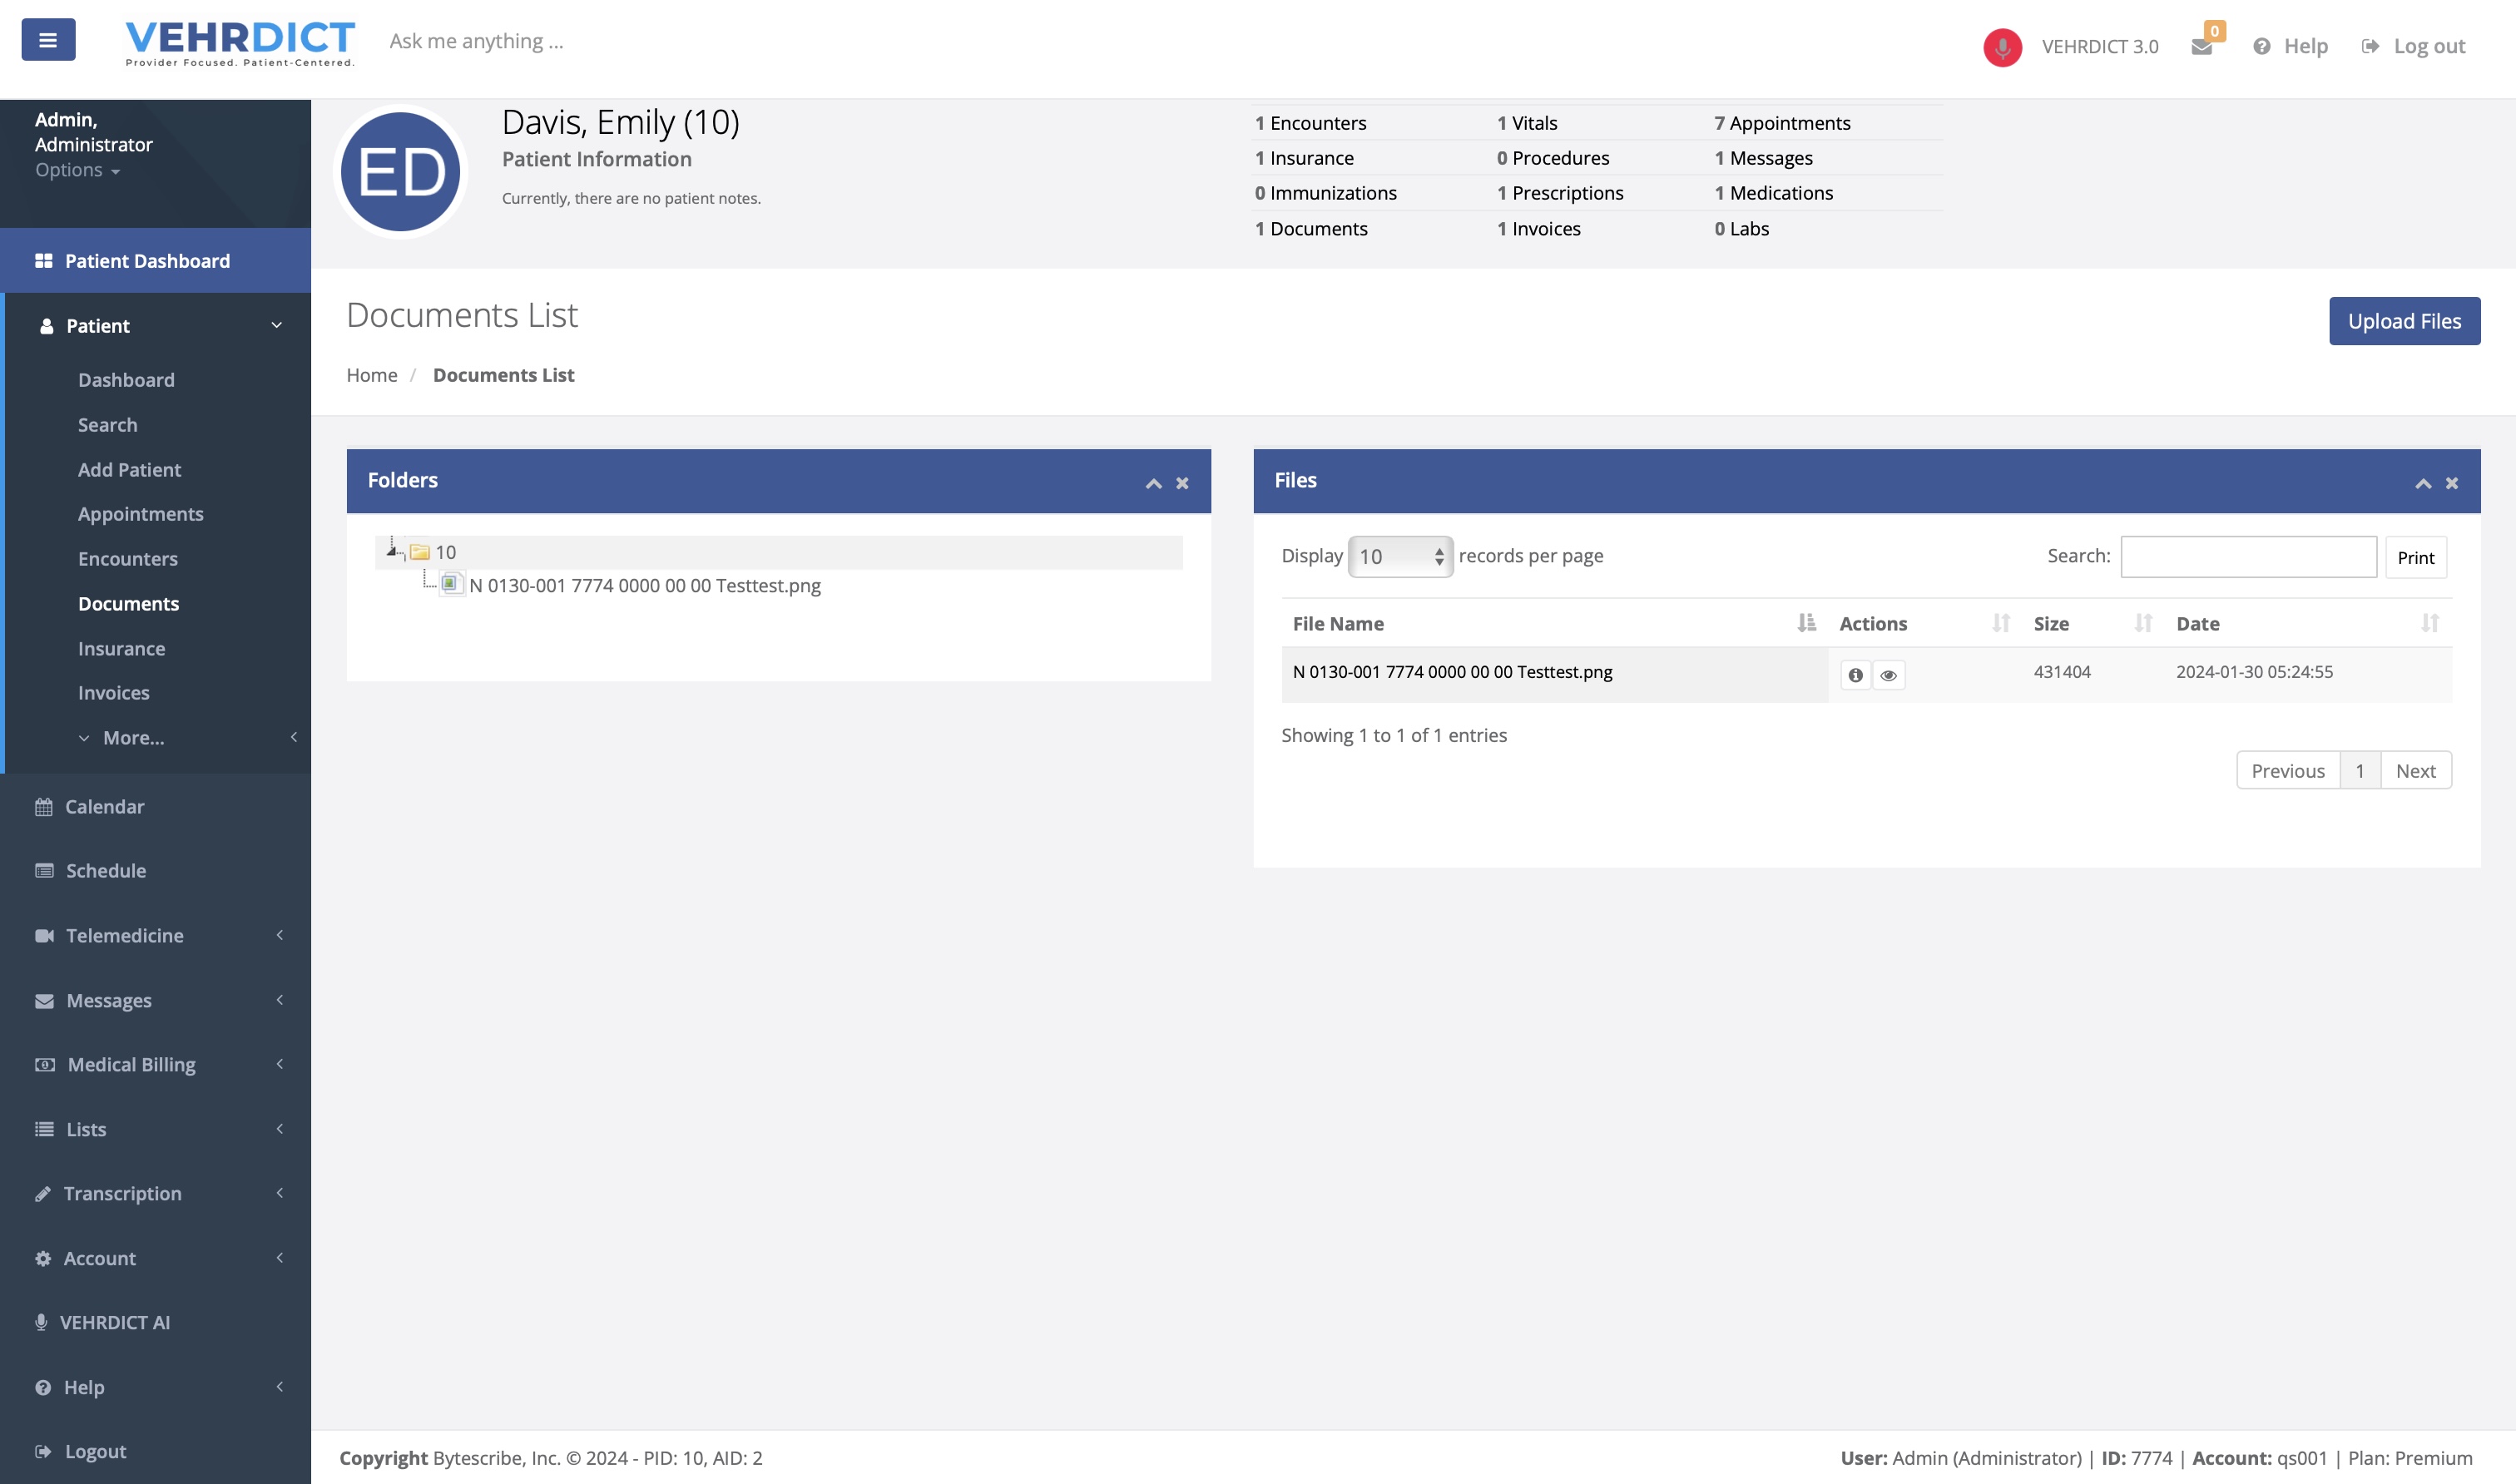
View Uploaded Document
The uploaded document will now appear in the 'Documents List', where you can view, download, or manage it as needed.


Key Features
- Secure Storage: All documents are stored securely to ensure patient confidentiality and compliance with data protection regulations.
- Easy Access: Quickly locate and retrieve any document from the patient's file with a user-friendly interface.
- Organized: Documents are organized by type and date, making it easy to manage patient records.