Patient Vitals: Difference between revisions
Jump to navigation
Jump to search
No edit summary |
|||
| Line 16: | Line 16: | ||
[[File:vitals_list_nx.jpg|800px]] | [[File:vitals_list_nx.jpg|800px]] | ||
==Step 3: Display== | |||
The vitals page will now dynamically update and show the most recent vitals taken, their applicable chart, and will display when each vital entry is outside of a healthy parameter. | |||
[[File:vital_display_nx.jpg|800px]] | |||
Revision as of 14:04, 15 October 2024
This page is dedicated to monitoring and recording vital signs, providing a snapshot of the patient's current health status and trends over time. Then select Vitals at the top of the page.
Step 1: Patient Dashboard
- Vitals must be linked to an encounter. In order to enter vitals, first navigate to the dashboard of the patient.
- If an encounter is not selected, Vehrdict will prompt the user to select an encounter.
Step 2: Select the Patient
- This can be done by searching for the patient under the search tab or by clicking on the appointment from the calendar and selecting patient chart.
- The user also has the option to search for the patient by their name from the search bar at the top of the page.
Step 3: Enter Vitals
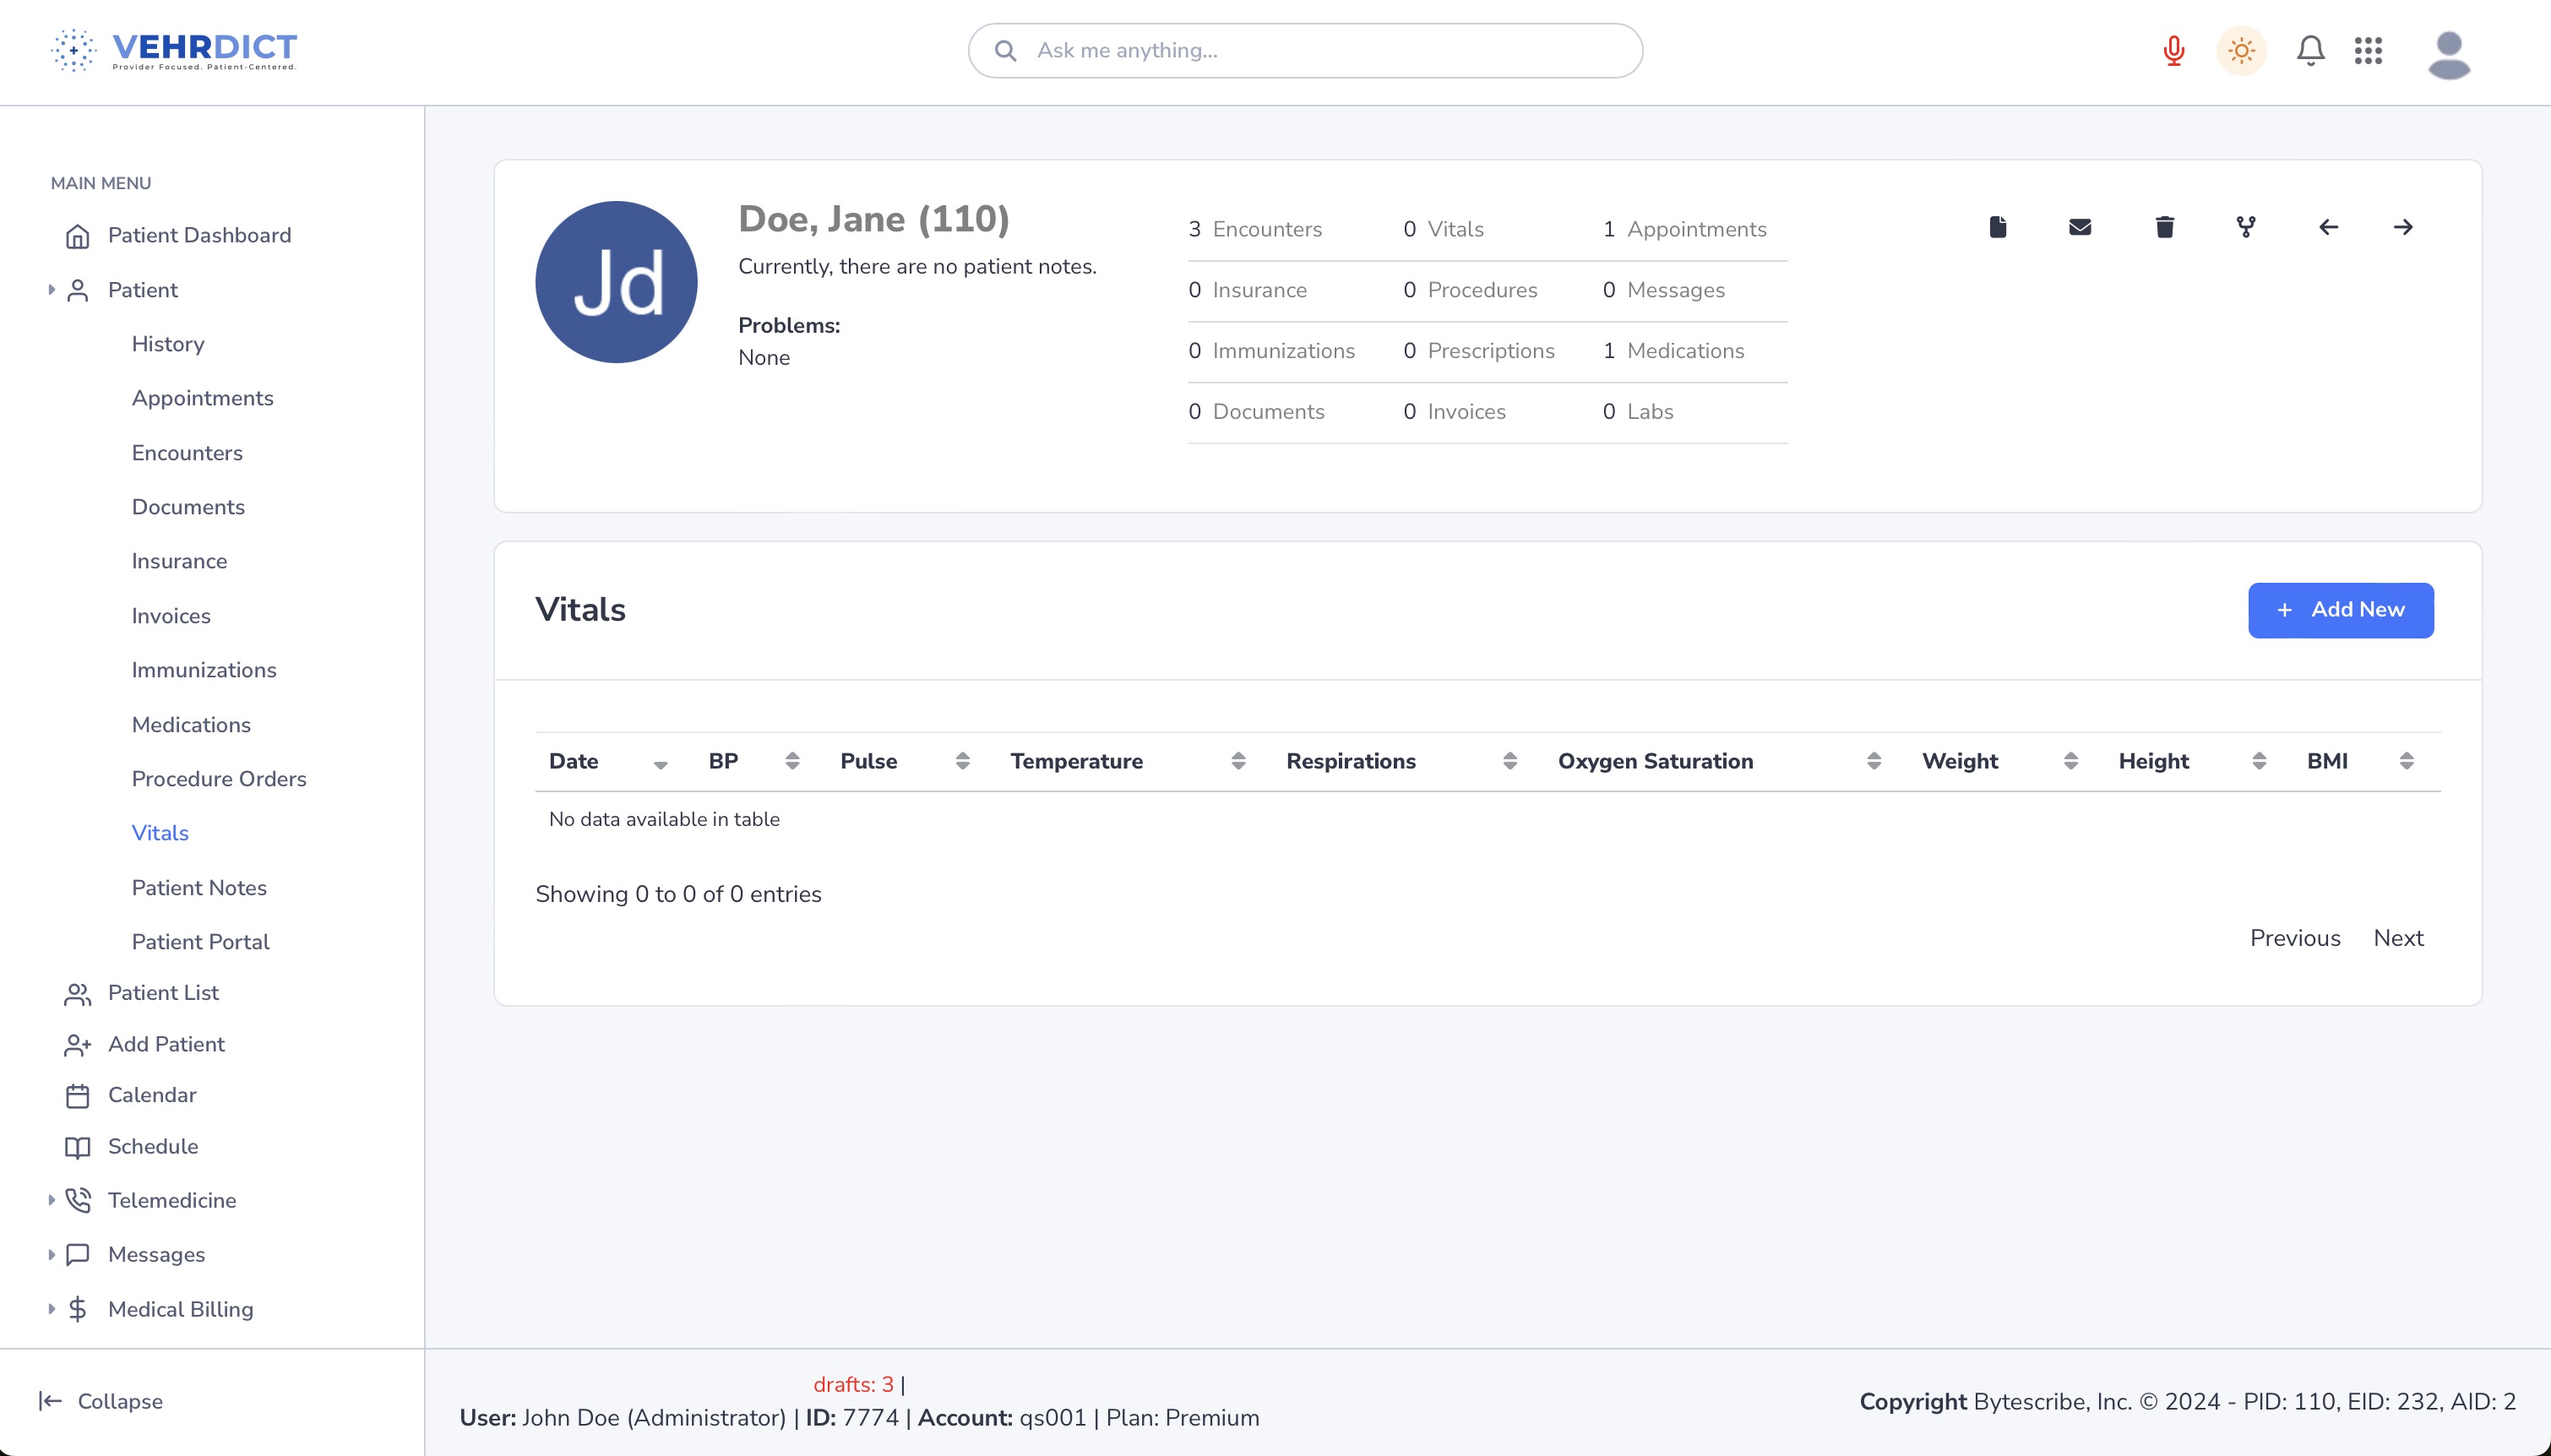
From the Vitals List page, click Add New to enter new vitals for the patient.
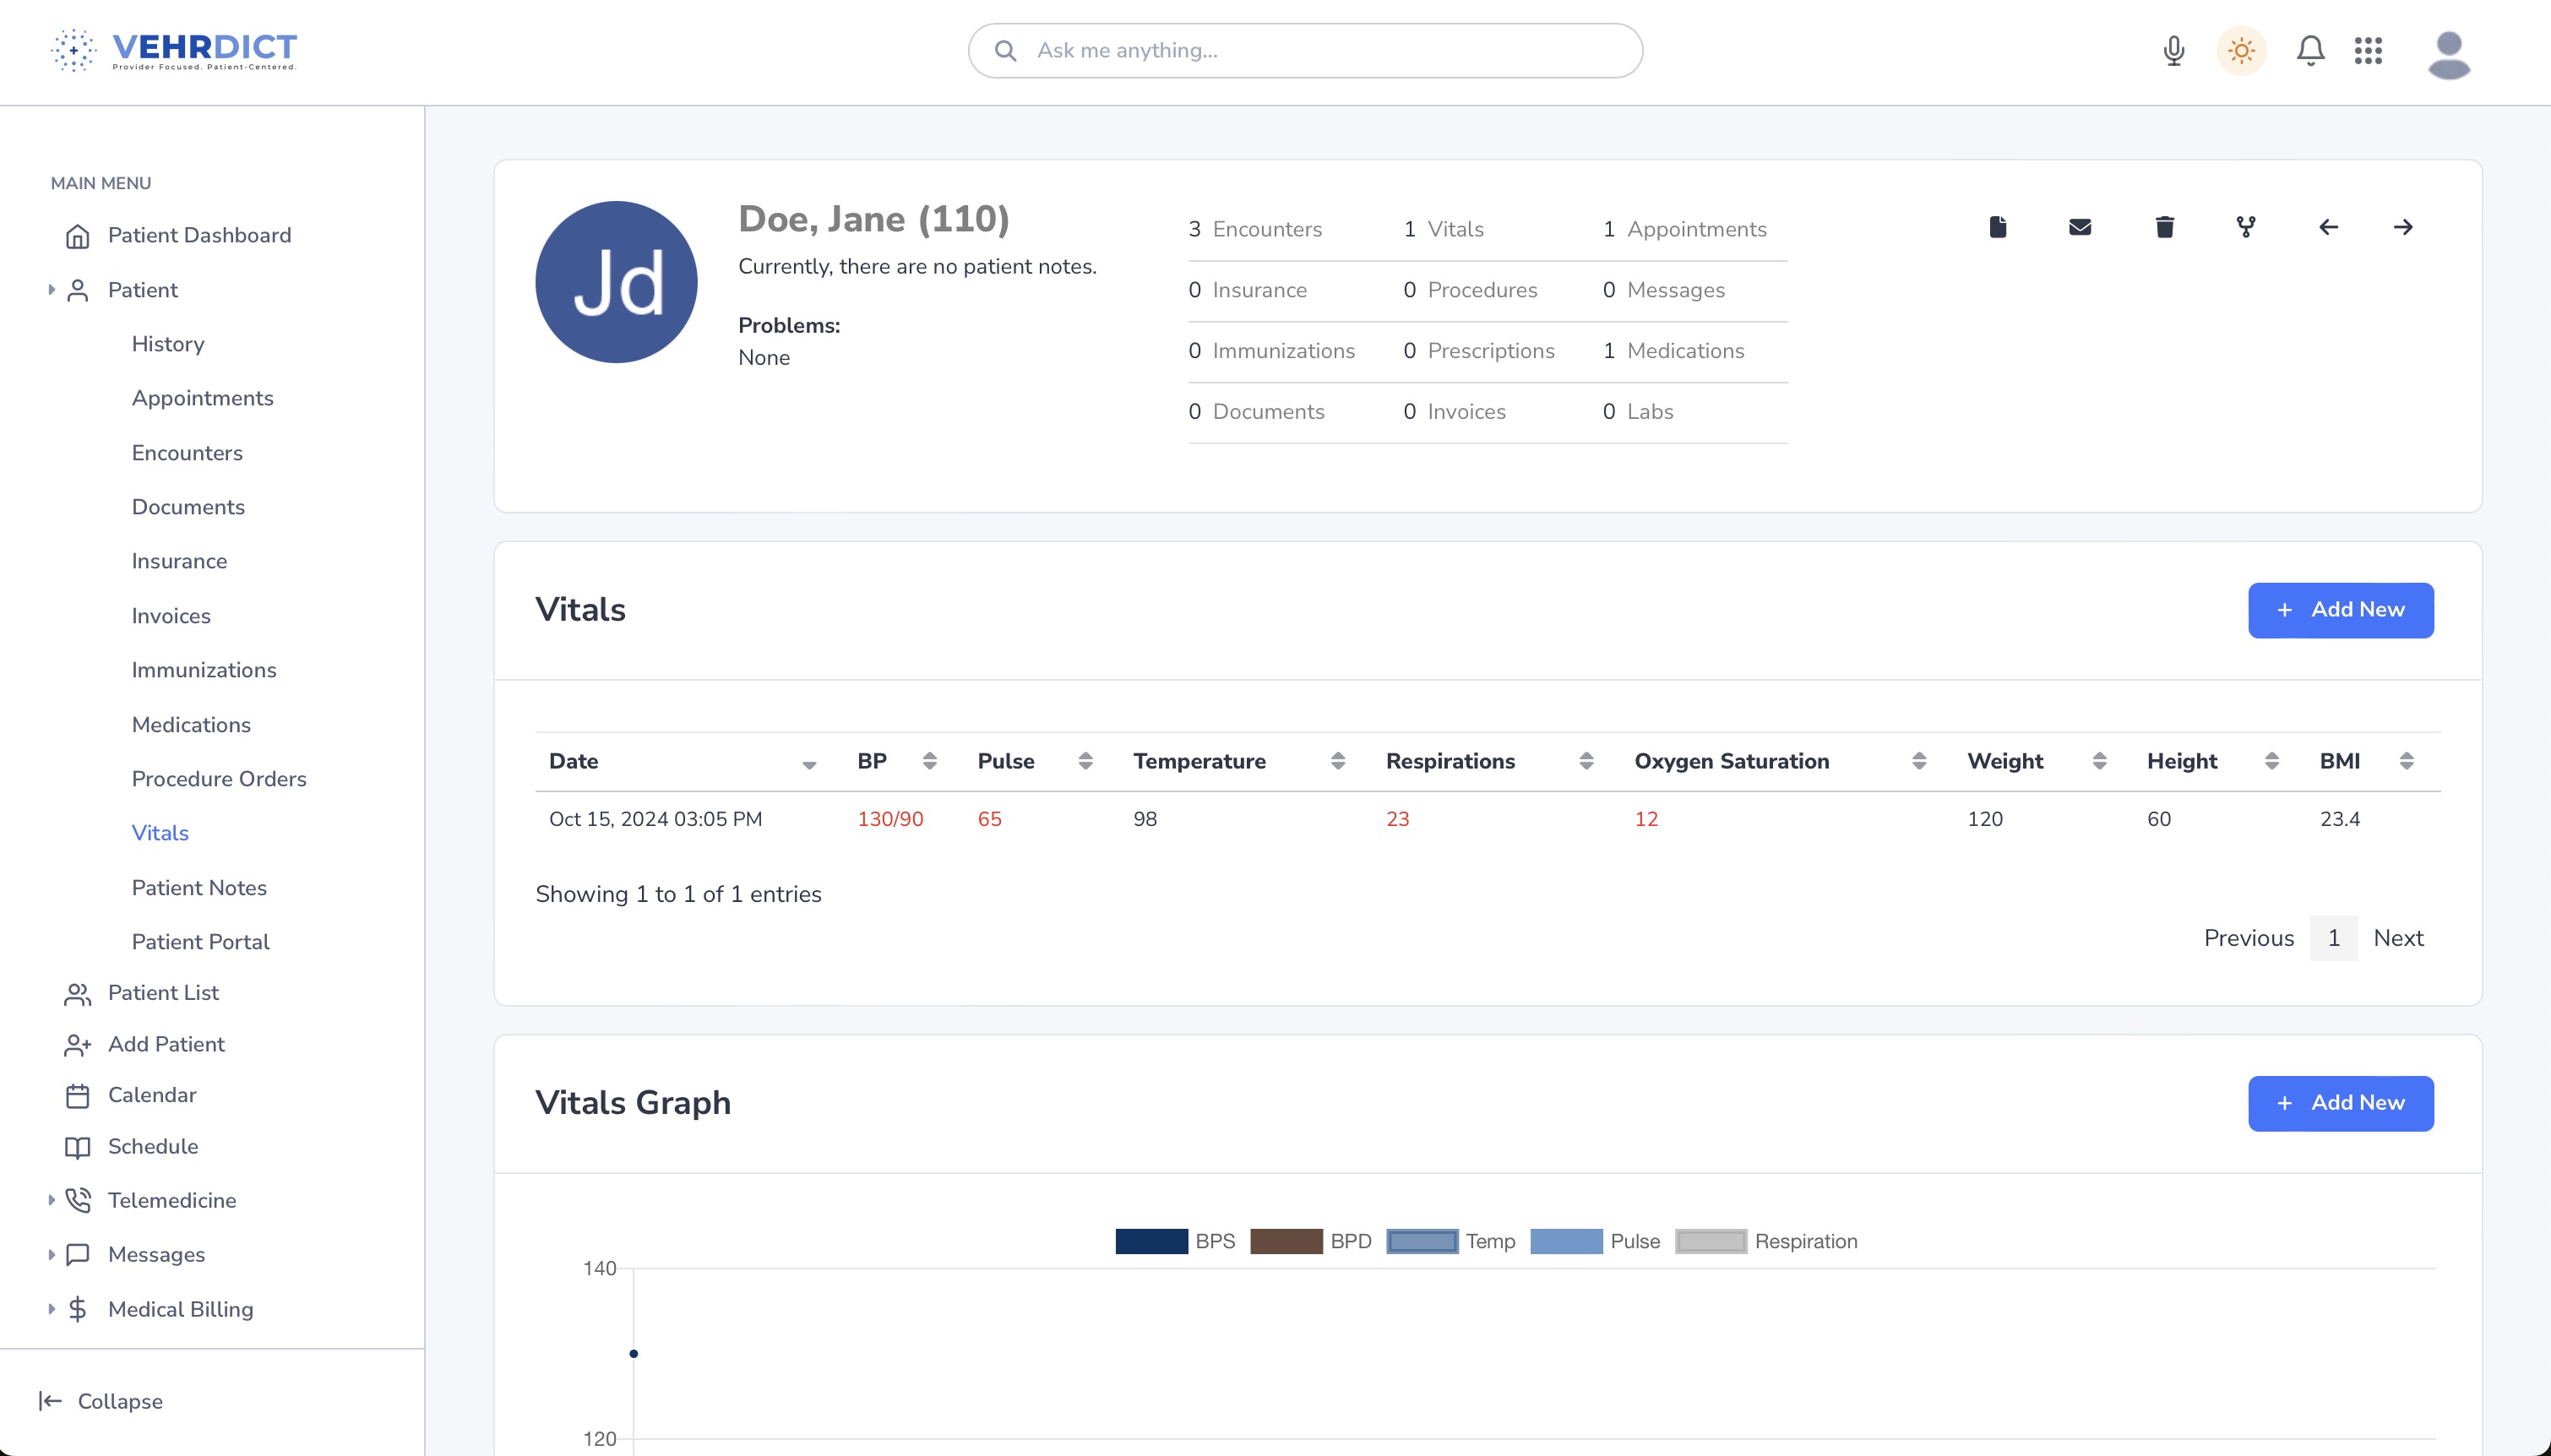
Step 3: Display
The vitals page will now dynamically update and show the most recent vitals taken, their applicable chart, and will display when each vital entry is outside of a healthy parameter.

